Your Guide to Fixing a Clogged Drain

Woman fixing a clogged drain in her kitchen sink with a plunger

A clogged drain can quickly turn your daily routine into a frustrating ordeal. The once-smooth flow of water in your bathroom sinks, kitchen sink, or shower drain can be disrupted by an unseen obstruction lurking below the surface. It’s a situation no homeowner wants to face, but fortunately, fixing a clogged drain is often simpler than you might think. In this guide, we’ll take you through a variety of ways to help you regain control of your plumbing and restore the blissful flow of water in your home.

Identify the Problem

The first step in fixing a clogged drain is identifying the problem. Is your bathroom sink not draining properly? Have you noticed water pooling around your shower drain, unpleasant odors throughout your house, or gurgling sounds when the water is on? Perhaps the water is backing up, causing a mess. If any of these issues sound familiar, you likely have a clogged drain on your hands.

Once you’ve pinpointed the problem, it’s time to gather your tools. Head to your local grocery or hardware store to pick up a few essentials: a toilet plunger, a cup of baking soda, vinegar, a long flexible snake, and a pot for boiling water. These items will be your trusty companions in this plumbing excursion.

Baking Soda and Vinegar Magic

For minor clogs, start with the simplest solution — a cup of baking soda followed by a cup of vinegar. Pour the baking soda down the drain, followed by the vinegar. The resulting chemical reaction can help break up the clog, allowing water to flow freely once again. Leave it to work its magic for about 30 minutes, then flush the drain with hot water. This method is effective for bathroom sinks, kitchen sinks, and shower drains.

Boiling Water: Nature’s Plumber

Another simple yet effective method for fixing a clogged drain is pouring boiling water down the drain. This works best for greasy clogs in the kitchen drain. Boil a pot of water and carefully pour it down the drain. The hot water can melt grease and help it flow down the pipes. Repeat as needed.

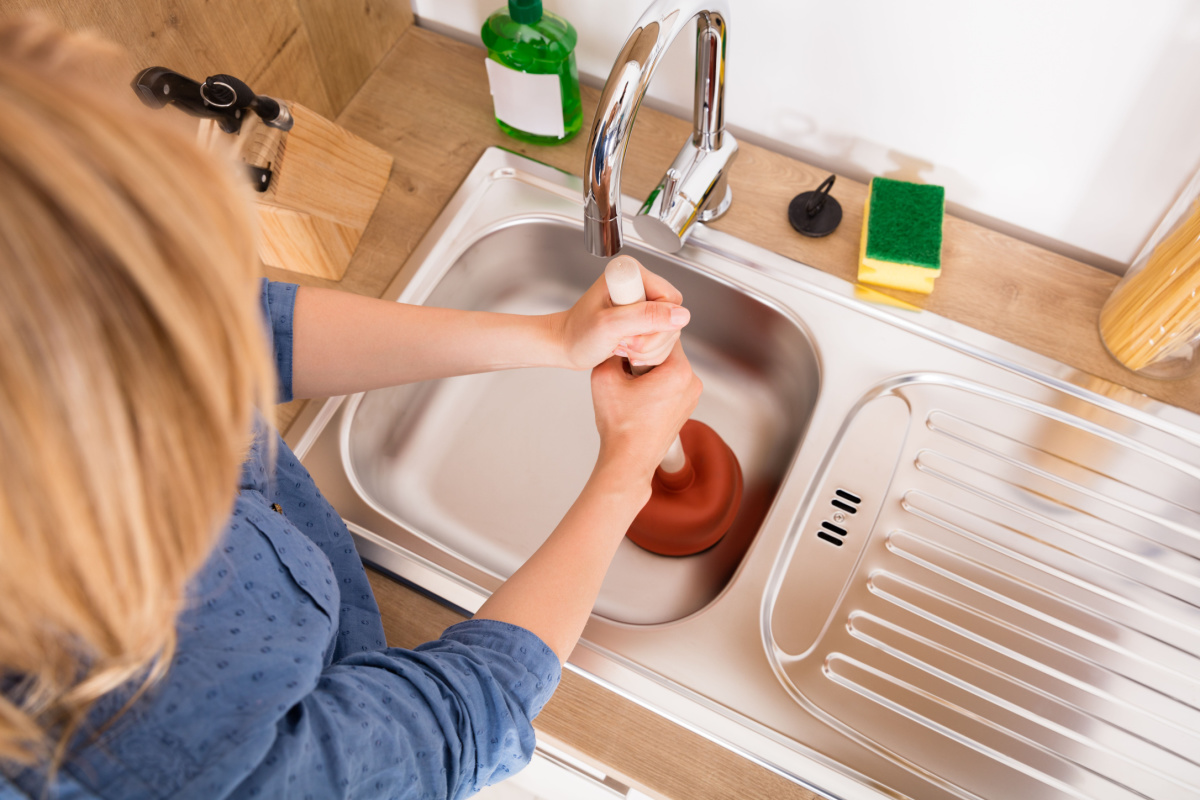
Plunge Away the Blockage

If baking soda and vinegar fail to do the trick, it’s time to break out the toilet plunger. Place it firmly over the drain, ensuring a good seal, and give it a few vigorous pumps. This action creates pressure that can help dislodge the clog. For stubborn clogs, you might need to repeat the process a few times.

Snake It Out

When neither baking soda and vinegar nor plunging can save the day, it’s time to bring in the big guns — the long, flexible snake. Insert the snake into the drain and turn the handle clockwise to extend it deeper into the pipes. Keep going until you feel resistance; this means you’ve reached the clog. Rotate the snake in a circular motion to break up the obstruction, and then slowly retract it.

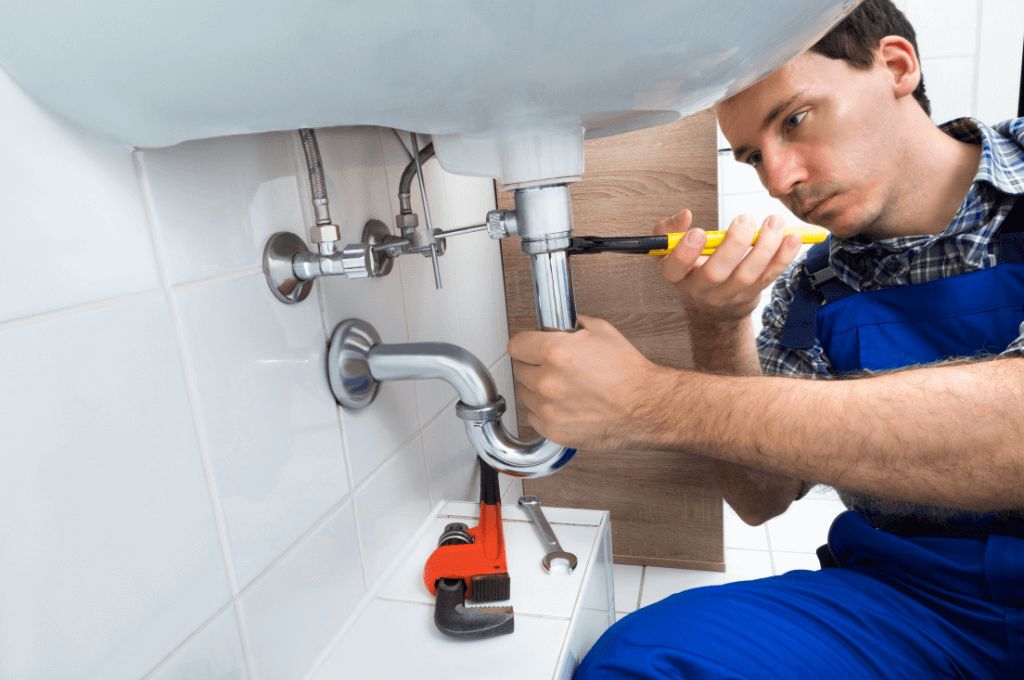
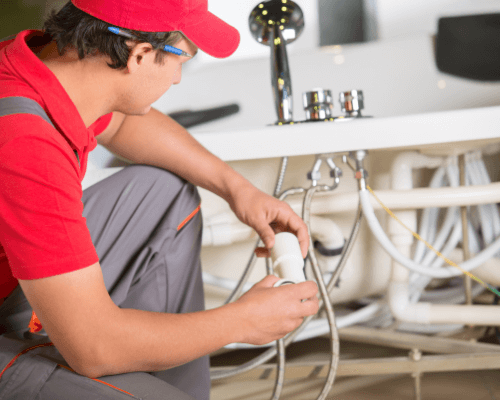
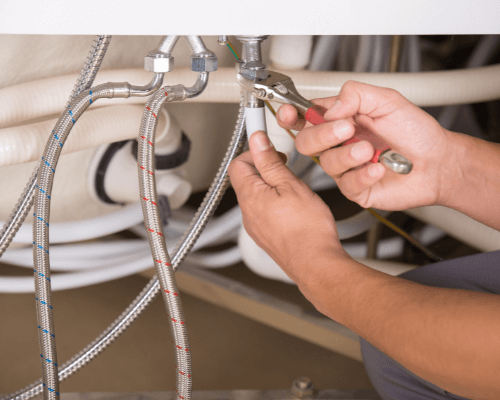
When to Call a Professional

Sometimes, despite your best efforts, the clog refuses to budge. If you’ve tried all the DIY methods for unclogging a drain and the issue persists, it’s time to call in the experts.

At Chosen Rooter & Plumbing, we provide drain cleaning in San Francisco and the surrounding areas. Our certified professionals are equipped with the latest tools and techniques to tackle even the most stubborn drain clogs. With our expertise, you can trust that your drain will be back to its optimal performance in no time. Contact an experienced bathroom and kitchen plumber today!

Posted in DIY

Top 9 Bathroom Sink Drain Installation Mistakes to Avoid in 2023

bathroom sink drain installation mistakes you need to avoid

As easy as it may seem to fix a sink, even the slightest mistake can cause issues down the line. This article talks about the top 9 bathroom sink drain installation mistakes you need to avoid in 2023. Steering clear of these mistakes can help you avoid costly repairs in the future.

#1: Not Taking Proper Measurements

When installing a sink drain, it is very important to take the correct measurements of the space. Before you begin with the installation, make sure to measure the height, width, and depth of the space that the sink is going to fit.

Your bathroom sink should be 20 to 15 inches away from your back wall. Start from the center point of the sink, all the way back to the wall to accurately measure the space.

plumbing tip taking proper measurement

If you do not measure properly, you will be left with a sink that is either too small or too big for the space. It may also mean that the sink is not centered on the vanity or pedestal. If you don’t pay attention to the size, it may also lead to failure of the prerequisite inspection.

#2: Using the Wrong Tools

This one might seem the most obvious from the list, but it is also the most common one that people make when installing a sink drain. The type of tools you choose can make or break your efforts. 

Although the right tools may vary depending on the specific installation and the type of sink being installed, it is important to use specific tools that are made for that purpose. Use a basin wrench to tighten or loosen the nuts that hold the water faucet and water supply lines in place.

Pliers are meant to be used for holding nuts and bolts in tight spaces while screwdrivers are meant to secure the sink to the wall. Only use a putty knife to apply the sealant and not for any other purpose. 

#3: Not Using the Correct Type of Sealant

Each sealant serves a specific purpose. Using the wrong sealant can create problems like leakage and breakage. Read the manufacturer’s guide carefully and use the recommended sealant for specific sinks and installation.

The most common type of sealants used in plumbing are plumber’s putty, silicone sealant, and Teflon tapes. Plumber’s putty is a soft substance that can be molded into a water-tight seal around the drain flange.

Silicone sealant is a more durable and long-lasting option as compared to a plumber’s putty. It is water-resistant and doesn’t wear away even after a long time. Teflon tape is a thin, flexible tape used to create a tight seal around the threads of the drain pipe.

#4: Not Turning off the Main Water Supply

When fixing or installing a bathroom sink drain, it is important to turn off the water supply beforehand. If you don’t do this, you might end up with a flooded bathroom. 

People sometimes hurriedly apply the nuts to stop the water from gushing out. This is a worse mistake. Even if you do forget to turn off the main supply and water starts pouring out, leave everything as it is and turn off the water supply as fast as you can.

#5: Overtightening

When it comes to DIY plumbing, a very common misconception that people have is, the tighter the connections, the better the plumbing. But the truth is the exact opposite.

overtightening plumbing mistake

Excessive tightening can result in fittings being damaged, causing them to crack or break. This can act as fuel to the fire because you would have to replace all those pipes.

It is recommended to finger-tighten the slip joint nuts and flexible supply lines, and then apply an extra one-quarter to one-half revolution of tightening. 

#6: Not Following Local building and Plumbing Codes

Each building has its own unique code. It is important to ensure that your installation meets all local building codes and regulations. This helps to make sure that they are legal and safe. 

You can find the codes at your local municipality but it’s also important to check out the Uniform Plumbing Code and the International Plumbing Code to make sure that you don’t miss anything.

Not following building codes may not result in immediate problems with your bathroom sink itself. But it will most definitely show up during the inspection which can put you at risk of a fine that is more costly than the plumbing.

#7: Using Galvanized Pipes

We all know that pipes come in different sizes and shapes. But did you know that not using the right type of pipe is the worst mistake you could make when installing a bathroom sink drain?

Galvanized pipes are coated with zinc to create a protective layer on them. Such pipes corrode and rust from the inside over a period of being exposed to water. This decreases the capacity of water that can flow through them. At times, these clogs can become so big that they cause the pipes to burst.

So, make sure to steer clear of any pipes that may be harmful as well as the pipes that are prone to corrosion. These may seem less costly in the beginning but create very expensive problems. Copper pipes, on the other hand, are stronger and safer.

#8: Not Strapping Down the Pipes

Another common mistake that people make during DIY sink installation is that they forget to strap the pipes down. This causes the pipes to shake when water passes through them. You can use a hanger strap or a tube strap to tie the pipes to the surface. 

#9: Not using professional plumbing services

Not taking the help of professional plumbing services to fix bathroom plumbing can be a costly mistake. Professional plumbers have the right expertise, experience and tools to identify and solve any kind of plumbing problem in the shortest possible time. At Chosen Rooter we understand how important it is to get the job done correctly and quickly, so we make sure that we provide quality services at all times.

Conclusion

To conclude, there are several bathroom sink drain installation mistakes you need to avoid. Take the proper measurements, use the right tools and sealant, turn off the main water supply, and don’t over or under-tighten the nuts.

It is also important to use safe and approved pipes and strap them down to the surface. Taking care of these things can help you avoid wasting your time and money in the long run.

If you are looking for sf plumber near you, please give us a call at
(415) 702-9919

Posted in DIY